Part 1: Introduction
lemon bars have a crust! That classic, tangy-sweet treat that brightens up any dessert table. But here’s a quirky question that might have crossed your mind: Why do my lemon bars have a crust on top? It’s a common puzzle for many home bakers, and honestly, it’s quite fascinating.
Picture this:
You’ve followed the recipe to a T, your kitchen smells heavenly, and you’re ready to dive into those luscious lemon bars. But then, you notice a thin crust has formed on top. It’s not what you expected, right? Well, don’t worry, you’re not alone in this.
In this article, we’re going to explore this curious case of the lemon bar crust. We’ll dive into the science behind it, sift through some handy baking tips, and even sprinkle in some tricks to get those perfect, crust-free lemon bars. Whether you’re a baking newbie or a seasoned pro, this journey into the lemon bar world is sure to add a zesty twist to your baking skills. So, let’s zest up our knowledge and get to the bottom of this lemony mystery! 🍋🍰
Part 2: Understanding Lemon Bars
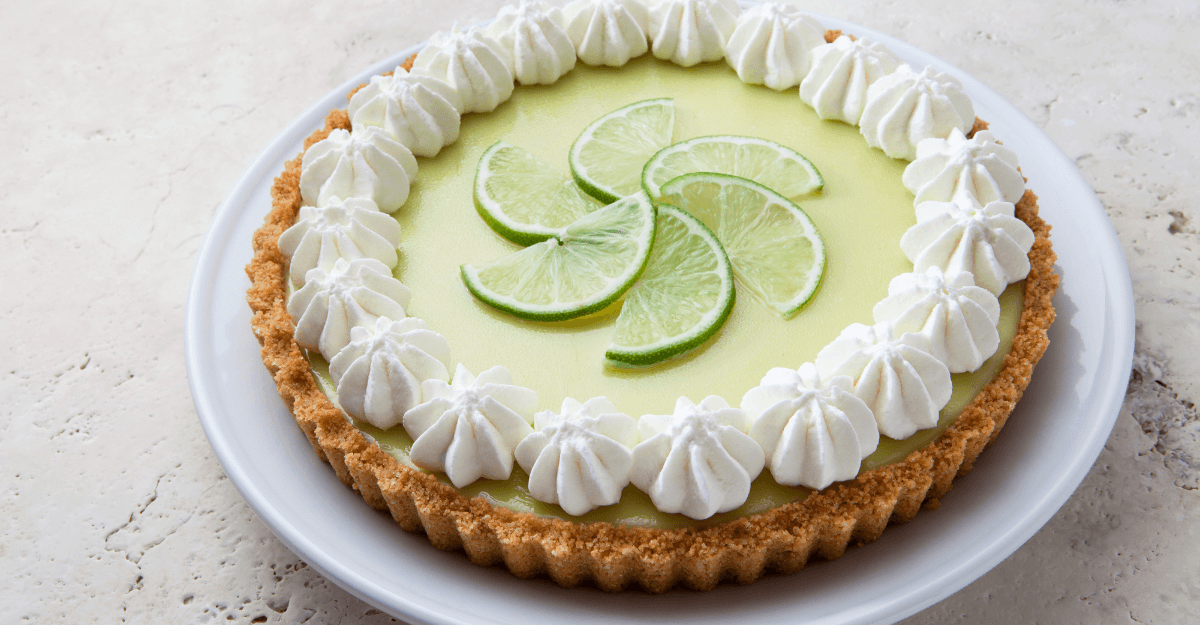
Lemon bars, a delightful dessert, are a symphony of simple yet elegant flavors. But what exactly makes up these tangy treats? At their core, lemon bars consist of two main components: a buttery shortbread crust and a smooth, lemony filling.
What are Lemon Bars?
Lemon bars are a popular dessert, known for their bright, citrusy flavor contrasted against a rich, crumbly base. They’re a perfect blend of sweet and tart, making them a hit at gatherings or just a treat with your afternoon tea.
Key Ingredients in Lemon Bars
The magic of lemon bars lies in their simplicity. The crust typically involves basic ingredients like flour, butter, and sugar. It’s the foundation that provides a delightful contrast to the zesty lemon topping. The filling, on the other hand, is a mixture of eggs, sugar, and, of course, fresh lemon juice and zest. This is where the real lemon flavor shines through.
The Role of Each Ingredient
Each ingredient in a lemon bar has a specific role. The flour and butter create a firm base, giving the bars structure and richness. The sugar adds sweetness, balancing the tartness of the lemons. Eggs in the filling give it a smooth, custard-like texture, while the lemon juice and zest are the stars of the show, providing that unmistakable zingy flavor.
Understanding these components is crucial. It’s like a dance where each ingredient has its part, coming together to create a dessert that’s more than just the sum of its parts. And when it comes to that mysterious crust on top, it’s all about how these ingredients interact during the baking process. But more on that later!
So, there you have it – a brief overview of what goes into making those delightful lemon bars. In the next section, we’ll delve into the science behind the crust formation, unraveling another layer of this lemony puzzle. Stay tuned!
Part 3: The Science Behind the Crust Formation
Ever noticed that thin, slightly crispy layer on top of your lemon bars and wondered, “How did that get there?” Well, it’s not just a fluke of baking; there’s actual science behind it. Let’s break down this crusty conundrum.
Why Does a Crust Form on Top of Lemon Bars?
The crust on top of lemon bars is primarily due to the eggs in the filling. When you bake lemon bars, the heat causes the proteins in the eggs to coagulate, forming a network that traps air and moisture. This process, combined with the sugar in the mix, leads to the formation of a thin crust on the surface.
The Role of Eggs in Crust Formation
Eggs are like the secret agents in your lemon bars. They’re not just there for texture; they play a crucial role in the formation of the crust. As the lemon bars bake, the air beaten into the eggs expands, rising to the top. This, along with the coagulation of egg proteins, forms that characteristic crust.
The Chemical Reactions During Baking
Baking is a lot like chemistry. When you put your lemon bars in the oven, a series of chemical reactions occur. The heat causes the sugars to caramelize, giving a golden color and a slightly crispy texture to the crust. Meanwhile, the moisture in the filling evaporates, contributing to the crust’s formation.
Understanding this science can be a game-changer in your baking. It’s fascinating how ingredients like eggs and sugar, when subjected to heat, transform into something so delightful. This knowledge not only explains the crust phenomenon but also opens up avenues to tweak your recipe for different outcomes.
In the next part, we’ll dive into the baking techniques that can help you achieve the perfect lemon bars, crust or no crust. So, keep your whisks ready, and let’s continue our lemon bar adventure! 🍋👩🍳🔬
Part 4: Baking Techniques
Now that we’ve unraveled the science behind the crusty top of lemon bars, let’s focus on the baking techniques. These tips and tricks are essential for achieving that perfect balance between a buttery base and a lusciously lemony top.
How to Make Lemon Bars
Making lemon bars is a delightful endeavor. Start by preheating your oven – this ensures a consistent baking environment. For the crust, mix flour, butter, and sugar until crumbly, then press it into a lined baking pan. Bake until lightly golden. For the filling, whisk together eggs, sugar, fresh lemon juice, and zest, then pour it over the baked crust. Bake again until the filling is set.
Ideal Baking Temperatures and Times
Temperature and time are crucial. Bake your lemon bars at around 350°F (175°C). The crust needs about 15-20 minutes to become perfectly golden and crisp. Once you add the lemon filling, bake for another 20-25 minutes. The filling should not wobble excessively when you gently shake the pan.
Tips for Preventing Overcooking
Overcooking can lead to a thicker crust on top and a rubbery texture. To avoid this:
- Keep an eye on your oven temperature. Use an oven thermometer if necessary.
- Check the bars a few minutes before the timer goes off. Ovens can vary, and so can baking times.
- Look for visual cues: The edges should be slightly golden, and the center should be set but still slightly jiggly.
Remember, lemon bars will continue to cook slightly from residual heat even after you take them out of the oven. Letting them cool gradually helps in achieving that perfect texture.
In the next section, we’ll explore how to troubleshoot common issues with lemon bars, ensuring your next batch is as close to perfection as possible. Stay tuned for more lemony insights! 🍋👩🍳📝
Part 5: Troubleshooting Common Issues
Even the most experienced bakers can face challenges when making lemon bars. Let’s tackle some common issues head-on, ensuring your next batch is nothing short of sublime.
Common Problems When Making Lemon Bars
One frequent issue is a crust that’s too thick or hard. This can happen due to overbaking or an imbalance in the recipe. Another problem is a filling that’s either too runny or too firm, often a result of incorrect egg or liquid proportions.
How to Remedy a Tough Crust
If you find your crust is consistently too hard, here are a few tips:
- Ensure your butter is at the right temperature. If it’s too warm, the crust can become hard.
- Mix the crust ingredients just until crumbly. Overmixing can lead to a tough texture.
- Watch the baking time for the crust. It should be just golden, not deep brown.
Adjusting Ingredients for Better Results
For the filling:
- Be precise with your measurements, especially for eggs and lemon juice. Too much liquid can make the filling too soft.
- Don’t overbeat the eggs; excessive air can cause the filling to puff up and then collapse.
- Consider the size of your eggs. Large eggs are standard in most recipes, so using a different size without adjusting can affect the outcome.
Remember, baking is as much an art as it is a science. Small tweaks can make a big difference. Don’t be afraid to experiment a bit to find what works best for you.
In the next part, we’ll share some top tips for perfecting your lemon bars. Whether you’re aiming for a classic taste or something a bit more adventurous, we’ve got you covered. Stay tuned for these zesty tips! 🍋👩🍳💡
Part 6: Perfecting Your Lemon Bars
Craving that perfect batch of lemon bars? Here are some nifty tips to get them just right, every time.
Achieving the Perfect Texture and Flavor
- Freshness First: Always opt for fresh lemons. The zest and juice make a world of difference, giving your bars that bright, tangy flavor.
- Crust Matters: Balance is key for the crust. Aim for a mix that’s crumbly, not dry, with just the right amount of butter.
- Cool It: Let the crust cool a bit before adding the filling. This helps keep the layers distinct and lovely.
- Silky Filling: For a smooth filling, strain your lemon mix. It’s an extra step, but it makes your filling oh-so-creamy.
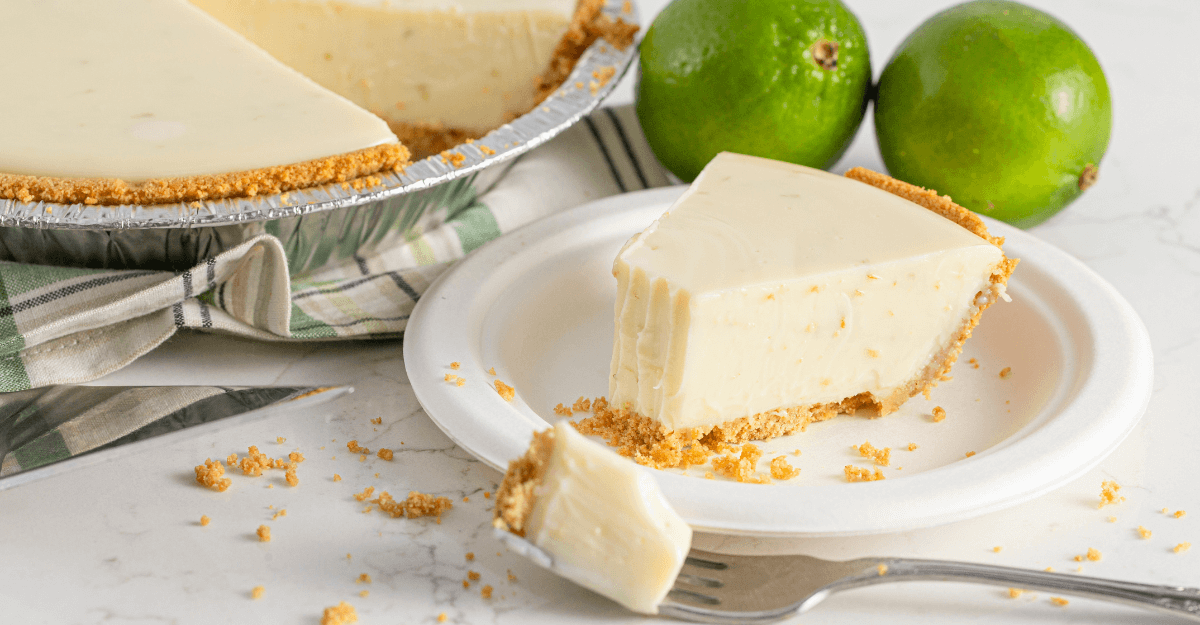
- Sweet Finish: A sprinkle of powdered sugar on top adds sweetness and makes your bars look pretty.
Flavor Twists and Fresh Ideas
- Spice It Up: A dash of ginger or cardamom in the filling can add an exciting twist.
- Lemon Varieties: Experiment with Meyer lemons for a different taste.
- Berry Layer: Adding fresh berries between the crust and filling can create a delightful fruity layer.
Remember, fresh ingredients are the secret to great lemon bars. They bring the flavors alive, making each bite a delightful experience.
Next up, we’ll tackle some FAQs about lemon bars. These tips might just help you snag a spot in those Google snippets! Stay tuned for some lemony wisdom! 🍋👩🍳💡
Part 7: FAQs
Got questions about lemon bars? You’re not alone! Here are some of the most common queries, answered to help you become a lemon bar expert.
Why does my lemon curd have foam on top?
- The Egg Factor: Foam on your lemon curd is usually due to the egg whites. When beaten, they create foam. You can skim it off or leave it – it’ll settle eventually.
Why are my lemon bars not yellow?
- Color Clues: Lemon bars get their yellow hue from the lemon zest and juice. If yours aren’t yellow, it might be due to the butter or sugar not being browned enough.
How do you cut lemon bars cleanly?
- Slice Like a Pro: For neat slices, use a sharp knife and cut once the bars are completely cooled. Wiping the knife between cuts helps too.
Additional FAQs
- Storage Tips: Wondering how to store them? Lemon bars keep well in the fridge, covered, for up to a week.
- Freezing Lemon Bars: Yes, you can freeze them! Just wrap them well.
- Vegan Options: For a vegan version, use plant-based butter and an egg substitute.
These FAQs should help clear up some common lemon bar conundrums. Armed with these answers, you’re well on your way to lemon bar mastery!
In the next section, we’ll wrap up with some final thoughts on making the perfect lemon bars. Get ready to bake with confidence and zest! 🍋👩🍳📘

