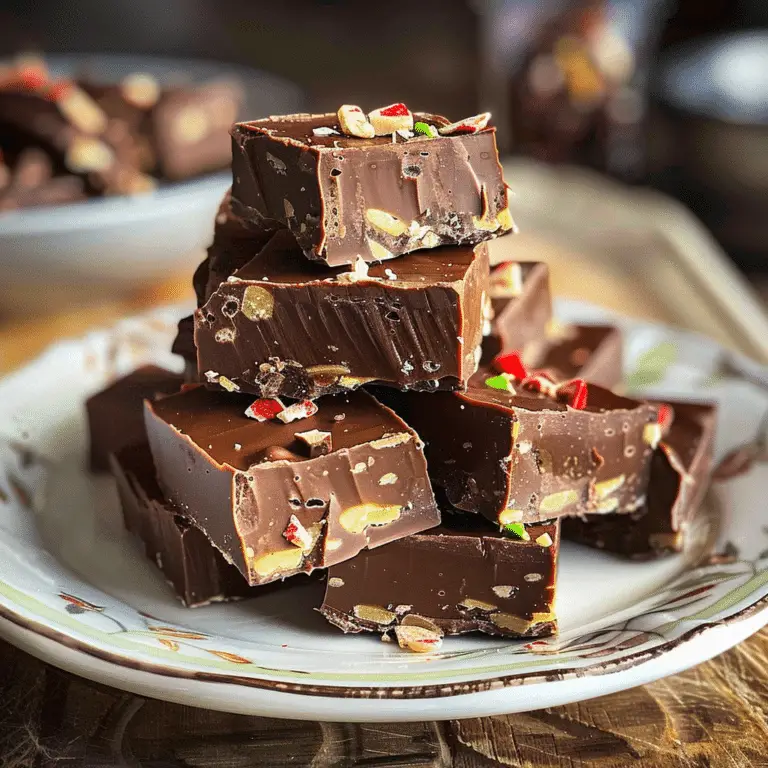
Introduction to Strawberry Crunch Topping:
Strawberry Crunch Topping has swiftly become a beloved staple in the world of dessert toppings. It’s not just a treat; it’s an experience that tantalizes the taste buds with its unique blend of sweetness, texture, and flavor. But what exactly is this delightful topping that’s taking the dessert world by storm?
At its core:
Strawberry Crunch Topping is a versatile concoction, typically made from crushed Golden Oreos, butter, and either freeze-dried strawberries or strawberry Jell-O mix. This simple yet ingenious mixture creates a delightful crunch that’s both sweet and tart, perfect for enhancing a wide range of desserts.
Now, you might be wondering, “What makes Strawberry Crunch Topping so special?” Well, it’s the perfect blend of nostalgia and innovation. It reminds many of us of the classic Good Humor Strawberry Shortcake Bars, evoking fond memories of childhood. Yet, it’s also a modern twist on traditional dessert toppings, offering a unique texture and flavor that sets it apart.
Moreover, its versatility is unmatched. Whether you’re sprucing up a simple bowl of ice cream or adding a crunchy layer to a sophisticated cheesecake, this topping fits the bill. It’s not just a topping; it’s a way to transform any dessert into a gourmet treat.
In this article, we’ll dive deep into the world of Strawberry Crunch Topping. We’ll explore its basic components, various recipes, and creative ways to use it. So, buckle up, and let’s embark on this sweet journey together!
The Basics of Strawberry Crunch Topping
When it comes to making Strawberry Crunch Topping, the beauty lies in its simplicity. You only need three key ingredients: Golden Oreos, butter, and a choice between freeze-dried strawberries or strawberry Jell-O mix. Each ingredient plays a crucial role in creating that perfect balance of flavor and texture.
Golden Oreos
The base of our topping, Golden Oreos, provides a sweet and buttery flavor, along with a delightful crunch. They’re the perfect canvas for the strawberry flavor to shine.
Butter
Butter is the binding agent that brings it all together. It adds richness and helps to form those irresistible crumbly clusters that we all love.
Freeze-Dried Strawberries or Strawberry Jell-O Mix
Here’s where you can get creative. Freeze-dried strawberries offer a natural and intense strawberry flavor, while strawberry Jell-O mix gives a sweeter, more candy-like taste. It’s all about your preference!
Now, you might be asking, “How do I choose between the traditional and no-bake methods?” Well, it depends on your taste and time. The traditional method involves baking, which gives a toasty flavor and a more mellow strawberry taste. On the other hand, the no-bake method is quicker and retains a more vibrant strawberry flavor. Both are equally delicious and worth trying!
In the next section, we’ll dive into the step-by-step recipes for both methods. Whether you’re a baking enthusiast or looking for a quick fix, there’s a Strawberry Crunch Topping recipe for you. Stay tuned!
Step-by-Step Recipes
Creating Strawberry Crunch Topping is a breeze, whether you prefer the traditional baked method or the quick no-bake option. Let’s walk through each recipe, so you can choose the one that best suits your needs.
Traditional Strawberry Crunch Crumbles Recipe
Ingredients:
- 22 Golden Oreos
- 1 (3-oz) package Strawberry Jell-O – Powder only
- 4-6 TBS Salted Butter – melted and cooled
Instructions:
- Preheat and Prep: Start by preheating your oven to 350°F and lining a baking sheet with parchment paper.
- Crush Oreos: Add the Golden Oreos to a food processor and pulse until you get a coarse crumb texture.
- Mix in Jell-O: Sprinkle the Strawberry Jell-O powder over the crushed Oreos and pulse a few times to combine.
- Add Butter: Drizzle the melted butter over the mixture and pulse until it resembles coarse crumbs.
- Bake: Spread the mixture evenly on the prepared baking sheet and bake for 7-10 minutes, until lightly toasted.
- Cool: Let it cool completely before using it as a topping.
This method yields a toasty texture with a more subdued strawberry flavor, perfect for those who enjoy a hint of nostalgia in their desserts.
No-Bake Strawberry Crunch Crumble Recipe
Ingredients:
- 26 Golden Oreos
- 1-ounce package Freeze-Dried Strawberries
- 5 TBS Salted Butter – melted and cooled
Instructions:
- Crush Oreos: In a food processor, pulse the Golden Oreos until they are roughly chopped.
- Add Strawberries: Add the freeze-dried strawberries to the bowl and give a few quick pulses to combine.
- Mix in Butter: Drizzle the melted butter over the mixture and pulse or stir until it forms coarse crumbs.
- Ready to Use: Your no-bake topping is now ready to sprinkle over your favorite desserts.
This no-bake version is a quick and easy way to add a burst of vibrant strawberry flavor to any dessert.
Both recipes are straightforward and can be easily customized. In the next part, we’ll explore how you can tweak these recipes to suit your taste buds even more. Stay tuned for some delicious variations and creative ideas!
Customization and Variations
The versatility of Strawberry Crunch Topping doesn’t end with just choosing between baking or not. You can customize this delightful topping to suit your taste buds or to add a twist to your desserts. Let’s explore some delicious variations and substitutions.
Flavor Variations
Strawberry Vanilla
For a classic twist, add a 1/4 teaspoon of pure vanilla extract to the melted butter. This brings a warm, sweet flavor that complements the strawberry beautifully.
Ultimate Strawberry
Double down on the strawberry essence by adding a few drops of strawberry extract to your mixture. This enhances the strawberry flavor, making it even more pronounced.
Lemon Crunch Topping
Swap out the strawberry for lemon Jell-O mix and add a dash of lemon extract. This variation offers a refreshing citrusy twist, perfect for summer desserts.
Ingredient Substitutions
For the Oreos
If you don’t have Golden Oreos on hand, feel free to use any vanilla sandwich cookie. The goal is to maintain that sweet, creamy flavor that pairs so well with strawberry.
For the Butter
To make a vegan version, swap in plant-based butter. You can also use unsalted butter and add a pinch of kosher salt for a slightly different flavor profile.
For the Strawberries
If you’re using the no-bake method and don’t have freeze-dried strawberries, you can experiment with other freeze-dried fruits like raspberries or blueberries for a different berry twist.
These variations and substitutions allow you to play around and create a Strawberry Crunch Topping that’s uniquely yours. In the next section, we’ll look at some creative ways to serve and pair this versatile topping with various desserts and treats. Stay tuned for some mouth-watering ideas!
Serving and Pairing Ideas
Strawberry Crunch Topping isn’t just versatile in its making; it’s also incredibly adaptable when it comes to pairing with various desserts and treats. Whether you’re looking to add a bit of crunch to your breakfast or a burst of flavor to your desserts, this topping has got you covered. Let’s dive into some creative and delicious ways to use this topping.
Desserts and Treats Pairing
Ice Cream and Yogurt
Sprinkle Strawberry Crunch Topping over a bowl of vanilla ice cream or a cup of Greek yogurt. The contrast between the creamy base and the crunchy topping is simply divine.
Cakes and Cupcakes
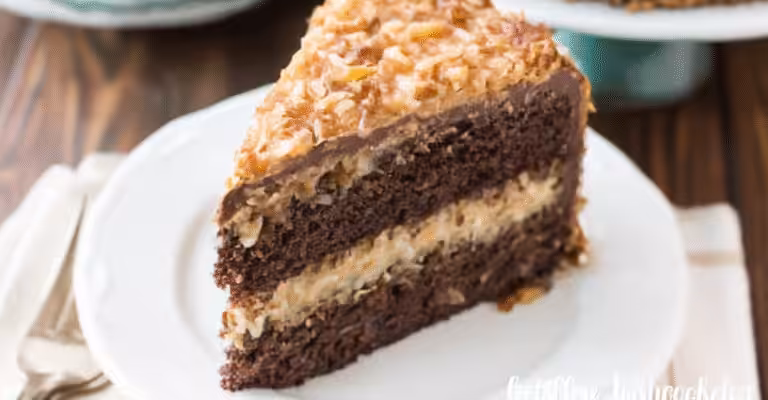
Use it as a layer or a garnish on cakes and cupcakes. Whether it’s a classic white cake or a rich chocolate cupcake, this topping adds a delightful strawberry crunch that elevates the overall taste.
Cheesecakes
For cheesecake lovers, adding a layer of this topping can transform your cheesecake into a strawberry delight. It’s particularly stunning on no-bake cheesecakes, where the crunch adds a textural contrast.
Breakfast and Snack Ideas Strawberry Crunch Topping
Pancakes and Waffles
Sprinkle some Strawberry Crunch Topping over your morning pancakes or waffles. It adds a sweet, crunchy element that makes your breakfast feel like a special treat.
Parfaits and Smoothie Bowls
Layer it in parfaits or sprinkle over smoothie bowls for a nutritious yet indulgent start to your day. The topping adds a lovely crunch to these otherwise soft dishes.
Trail Mix
Combine the topping with nuts, seeds, and dried fruits to create a unique strawberry crunch trail mix. It’s a great snack to have on hand for a quick energy boost.
The possibilities are endless with Strawberry Crunch Topping. It’s all about getting creative and experimenting with different combinations to find your favorite way to enjoy it. In the next section, we’ll discuss how to store this topping to keep it fresh and crunchy for as long as possible. Stay tuned for some helpful storage tips!
Storage and Preservation Strawberry Crunch Topping
Proper storage of Strawberry Crunch Topping is key to maintaining its delightful crunch and flavor. Whether you’ve made a big batch or have some leftovers, knowing how to store it effectively ensures you can enjoy this delicious topping whenever the craving strikes. Let’s go over some tips for storing and preserving your Strawberry Crunch Topping.
Storing Tips for Freshness
Airtight Containers
The best way to store Strawberry Crunch Topping is in an airtight container. This keeps out moisture and other contaminants, ensuring your topping stays fresh and crunchy.
Refrigeration
For extended freshness, you can store the topping in the refrigerator. This is especially useful if you live in a humid climate or if your topping contains butter, which can soften at room temperature.
Room Temperature
If you plan to consume the topping within a few days, storing it at room temperature is perfectly fine. Just make sure it’s in a cool, dry place away from direct sunlight.
Freezing and Thawing Methods
Freezing
Strawberry Crunch Topping can be frozen for up to 3 months. Freeze it in a zip-lock bag or an airtight container. This method is great if you want to make a large batch and use it over time.
Thawing Strawberry Crunch Topping
To thaw, simply leave it out at room temperature for a few hours. The topping will regain its crunch as it comes to room temperature. Avoid microwaving as it can make the topping soggy.
By following these storage tips, you can ensure that your Strawberry Crunch Topping remains as delicious as the day you made it. In the next section, we’ll wrap up with a conclusion that summarizes the key points of our delicious journey through the world of Strawberry Crunch Topping. Stay tuned for our final thoughts and a little bit of encouragement to get creative in your kitchen!
FAQs Strawberry Crunch Topping
In this section, we’ll address some frequently asked questions about Strawberry Crunch Topping to help clear up any uncertainties and provide additional insights. These questions often pop up among dessert enthusiasts and home bakers.
Can I Make Vegan Strawberry Crunch Crumbles?
Absolutely! To make a vegan version of Strawberry Crunch Topping, simply use a plant-based butter substitute in place of regular butter. Most Golden Oreos and similar vanilla sandwich cookies are already vegan, making this an easy swap.
How to Make Gluten-Free Strawberry Cake Crunch Crumbles?
For a gluten-free version, opt for gluten-free vanilla sandwich cookies, which are readily available in most grocery stores. The other ingredients, like freeze-dried strawberries and butter, are naturally gluten-free.
How Do I Make Strawberry Shortcake Ice Cream?
To create your own Strawberry Shortcake Ice Cream, start by softening your favorite vanilla and strawberry ice creams. Layer them in a loaf tin, alternating between the two flavors. Insert popsicle sticks and freeze until solid. Once frozen, cut into bars and roll them in your homemade Strawberry Crunch Topping for a delightful homemade treat.
Strawberry Crunch Topping to enhance its SEO and provide additional value to readers:
- For the Section on Breakfast and Snack Ideas:
- Link to “Crispy Air Fryer Breakfast Potatoes Guide”
- Suggested Rich Anchor Text: “For a hearty breakfast, pair your pancakes or waffles with these crispy air fryer breakfast potatoes.”
- Link to “Crispy Air Fryer Breakfast Potatoes Guide”
- For the Section on Vegan and Gluten-Free Variations:
- Link to “Ground Turkey Casserole Recipes Healthy”
- Suggested Rich Anchor Text: “Explore healthy and gluten-free casserole recipes that can be a great addition to your meal planning.”
- Link to “Ground Turkey Casserole Recipes Healthy”
- General Linking for Dessert Ideas:
- Link to “No-Bake Pumpkin Cheesecake Bars Guide”
- Suggested Rich Anchor Text: “Complement your Strawberry Crunch Topping with these delicious no-bake pumpkin cheesecake bars for a delightful dessert experience.”
- Link to “No-Bake Pumpkin Cheesecake Bars Guide”
strawberry crunch topping
- Total Time: 20 minutes
- Yield: About 2 cups 1x
- Diet: Gluten Free
Description
Strawberry Crunch Topping is a delightful and versatile dessert garnish that brings a sweet and tangy flavor, coupled with a satisfying crunch. Perfect for enhancing ice creams, cakes, cheesecakes, and more, this topping is reminiscent of childhood treats but with a modern twist. It’s easy to make and can be customized to suit various dietary need
Ingredients
- 22 Golden Oreos
- 1 (3-oz) package Strawberry Jell-O – Powder only
- 4–6 TBS Salted Butter, melted and cooled
- (For a no-bake version, substitute Strawberry Jell-O with 1-ounce package Freeze-Dried Strawberries)
Instructions
- Preheat Oven: For the baked version, preheat your oven to 350°F (175°C).
- Crush Oreos: In a food processor, pulse the Golden Oreos until they turn into coarse crumbs.
- Add Flavor: For the baked version, sprinkle Strawberry Jell-O powder over the crushed Oreos and pulse to combine. For the no-bake version, add freeze-dried strawberries instead.
- Combine with Butter: Drizzle the melted butter over the mixture and pulse until it forms a crumbly texture.
- Bake (Baked Version Only): Spread the mixture on a baking sheet lined with parchment paper. Bake for 7-10 minutes until lightly toasted.
- Cool: Allow the topping to cool completely before using.
Notes
- For a vegan version, use plant-based butter and vegan sandwich cookies.
- Gluten-free sandwich cookies can be used for a gluten-free version.
- Store in an airtight container at room temperature for up to a week, or refrigerate for longer shelf life.
- Prep Time: 10 minutes
- Cook Time: 10 minutes
- Category: Dessert
- Method: Baking / No-Bake
- Cuisine: American